
let’s place an order | club click
you scheduled a photo session. you stressed over the perfect outfits and bought special cream for your face to use in the weeks leading up to your session to ensure that you looked your absolute best. you imagined how beautiful the photos would be + used every bribe in the book to encourage your children to cooperate. on the day of the session, you wake up early to make sure you have enough time to style your hair just right and let’s face it, even though you laid your husband’s outfit out, he’s still going to ask you where every item of his photo outfit is. then you’ll dress your children in their picture perfect outfits and glide some lipstick onto your lips just in time to meet the photographer and get started. a week or so following the session, you receive the magical link from your photographer and you immediately click the link + fall in love with every single image. you save a couple of your ‘favorites.’ you send them to your husband, your mom, your best friend, whomever. you post one or two to social media…now pause. i fear that so many sessions end there. sure, it’s great to feel the love on social media from all of those who ‘like’ or comment on your photos but was that your intention when you scheduled your photo session? If yes, then by all means, disregard the rest of this post! but i’m secretly hoping that when you scheduled your session, you intended to print some of the photos from your session + display them in your home. it’s so easy to push it off. ‘i’ll wait for a sale.’ ‘i’ll do it tomorrow.’ but think about this-think about all the time you spent preparing for your session. all of your style + soul that you poured into the planning to make sure everything was just right. you owe it to yourself to spend some time on the back end of your session ordering the photos you planned so carefully. so let’s do it. together. grab something to sip + get excited. ordering photos is so easy + i promise it’s going to be worth it when you’re holding tangible memories in your hand.
step one: organize. write down the size of the frames in your home that you’re going to be filling with new images. start to think about which images from your session you’d like to see in each frame. head to your computer + pull up your downloaded images. on your desktop, create a new folder. name it ‘order.’ next, begin to sift through your downloaded images. when you find one that looks like the perfect fit for a particular frame, write down the image number next to the corresponding frame size. then, copy + paste that image from your downloaded images into your ‘order’ folder. complete these steps until you have images to fill each frame.

step two: head to mpix.com. either create an account or sign into your existing account.

step three: click ‘prints’ from menu. then select ‘order now.’

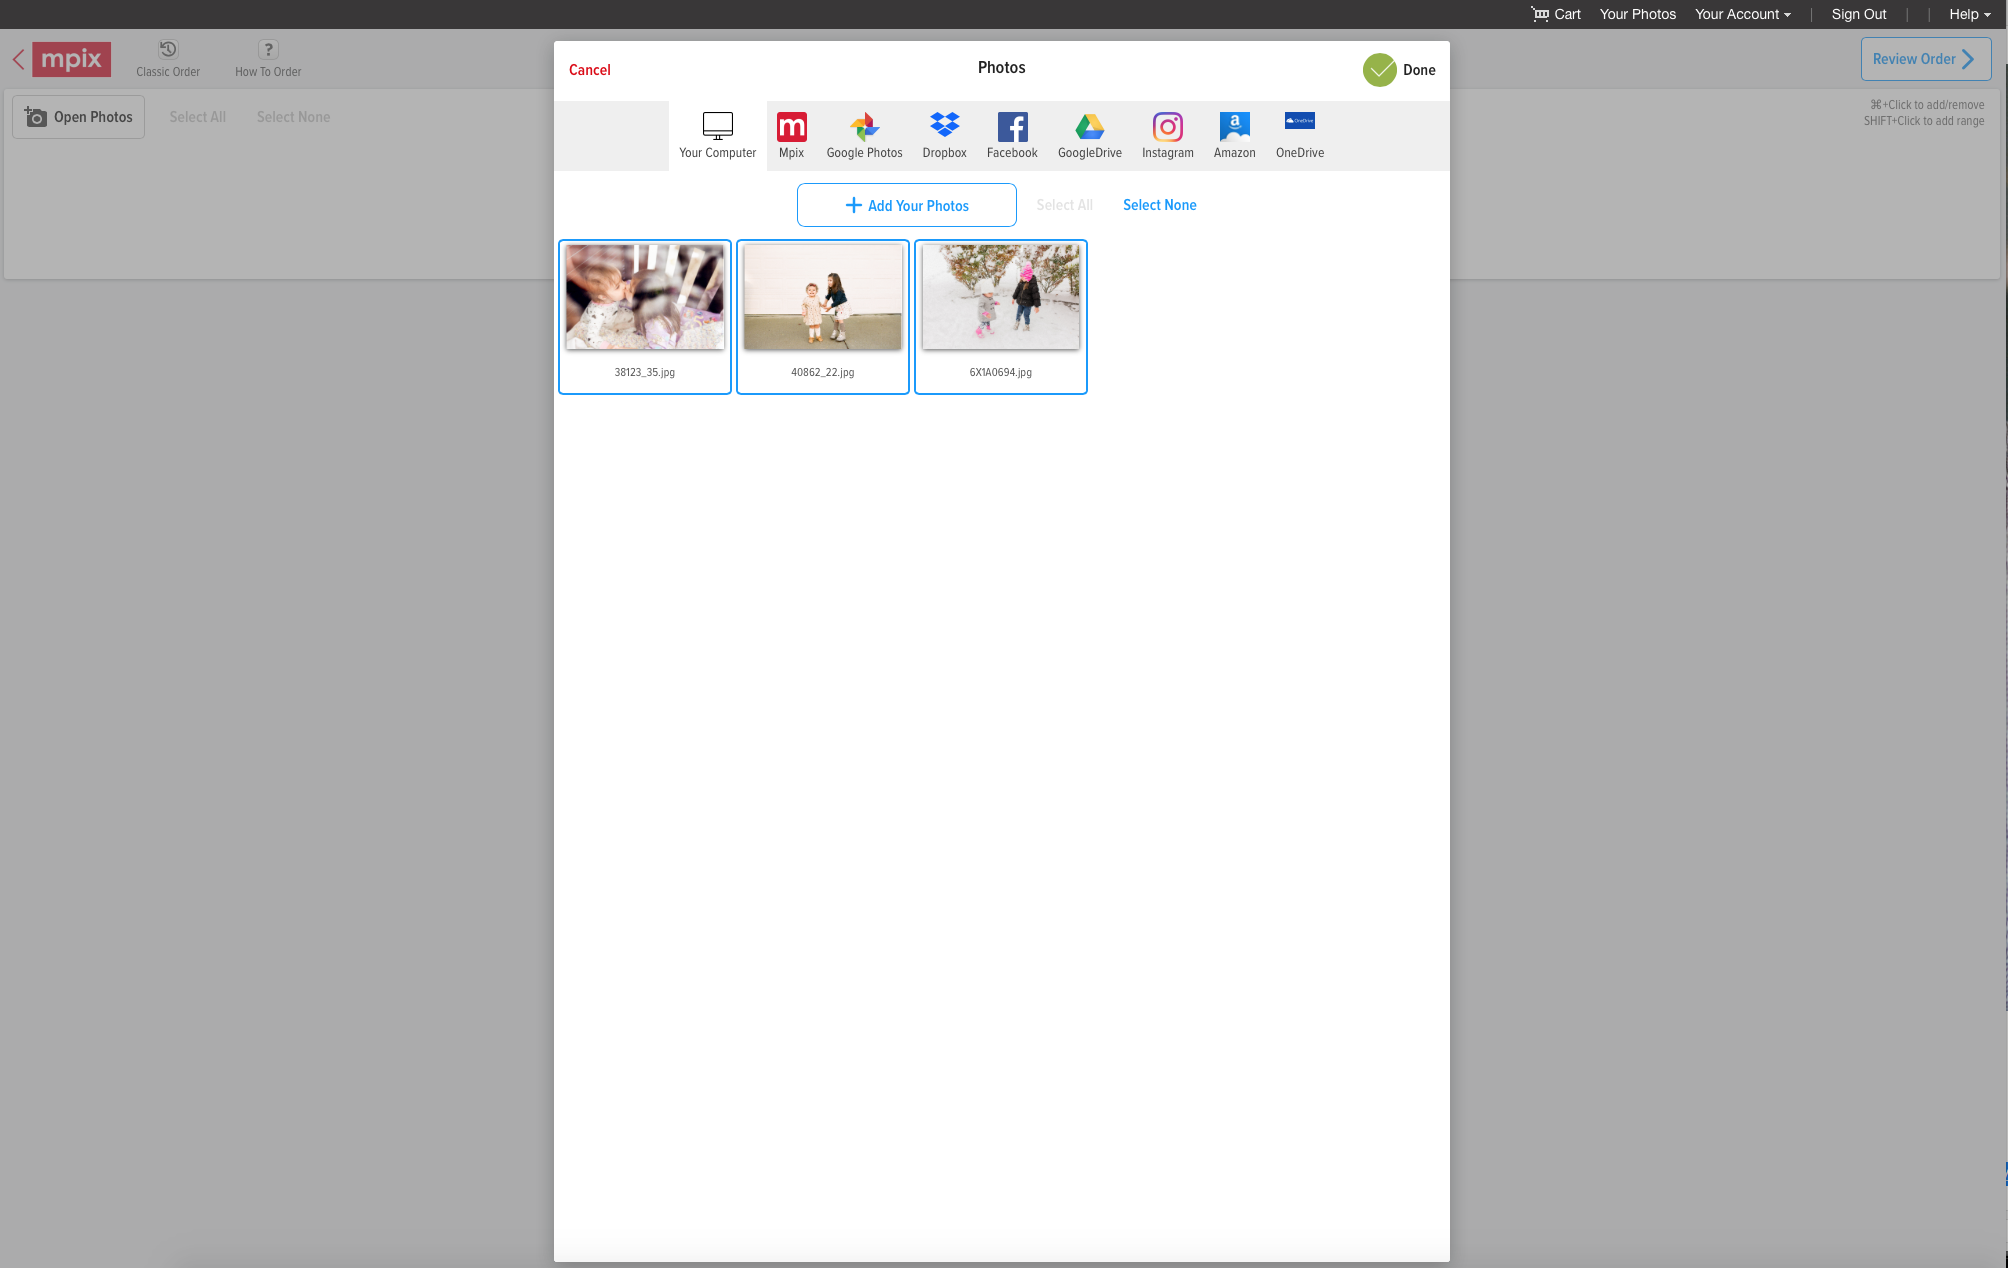
you’ll now be prompted to upload your photos which is easy peasy because we just created a folder on our desktop with our desired images. you’ll have several options here. you can select your images from your ‘order’ folder + simply drag them into the white box, you can click ‘add your photos’ and follow the prompts to select your images from your ‘order’ folder or select from the other options.
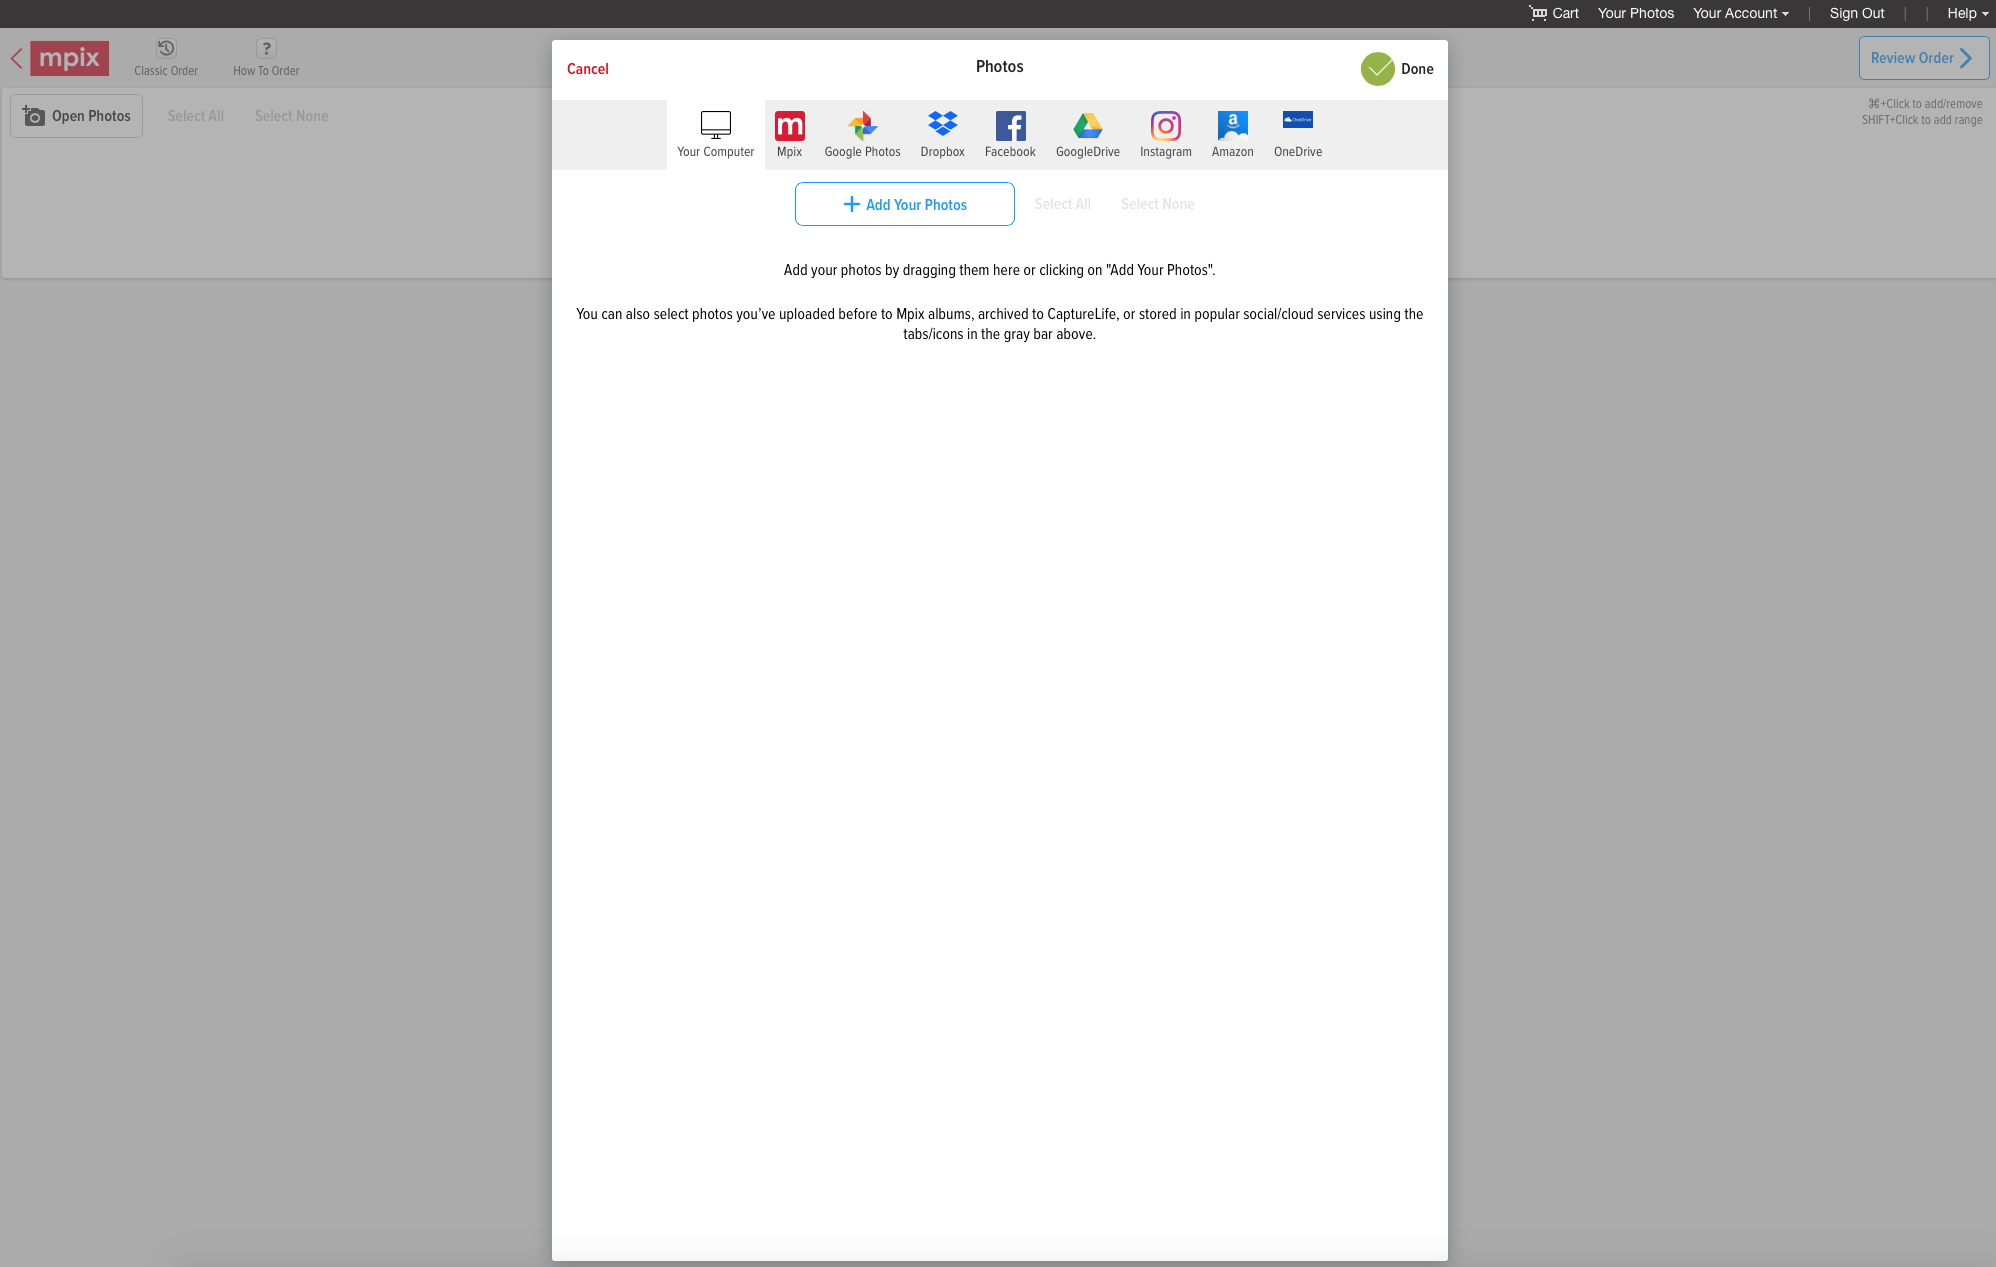
when you see your images in the white box, simply click ‘done.’
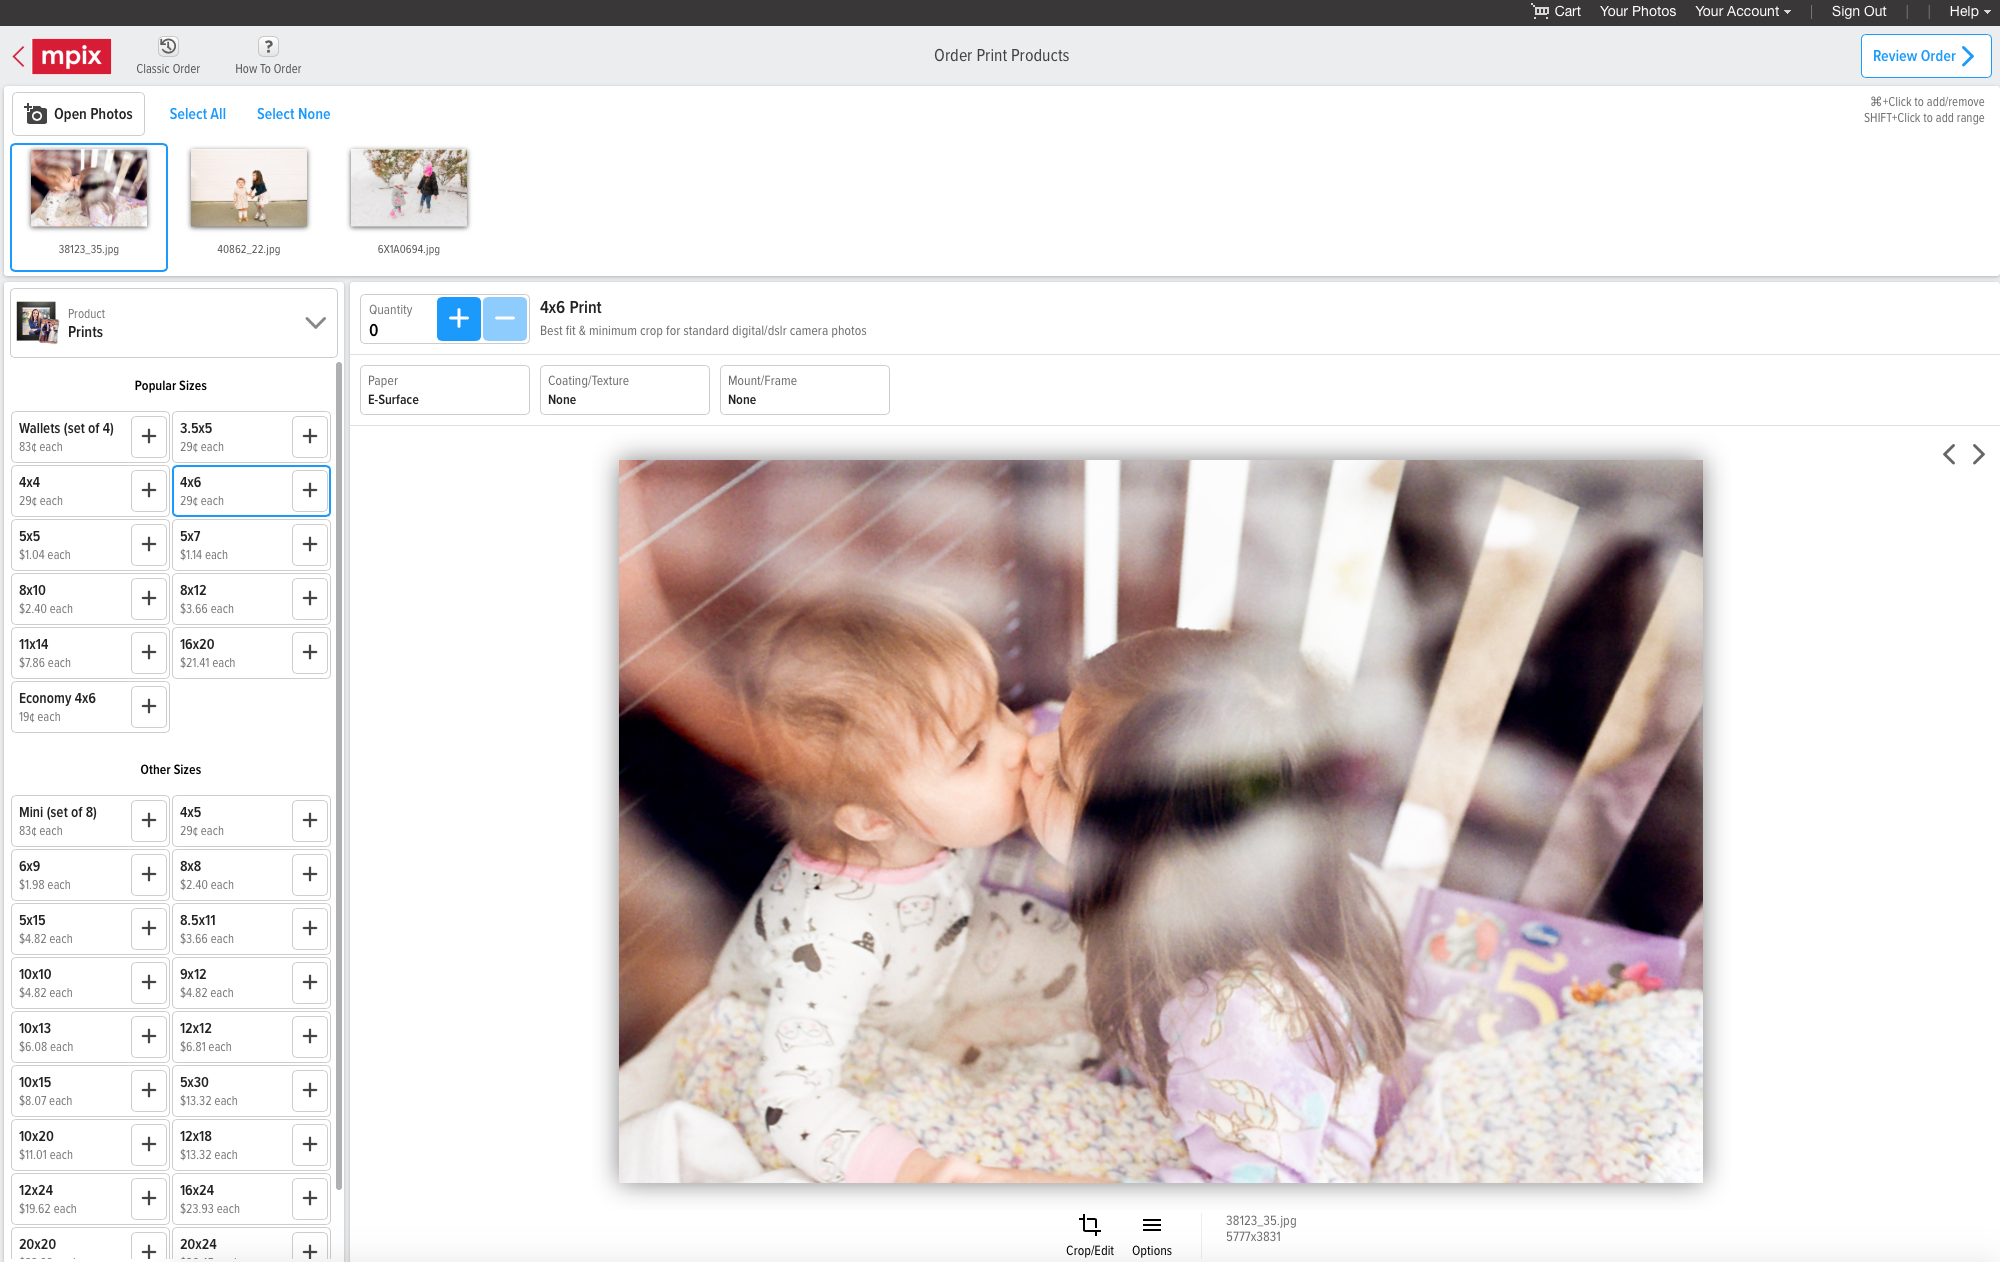
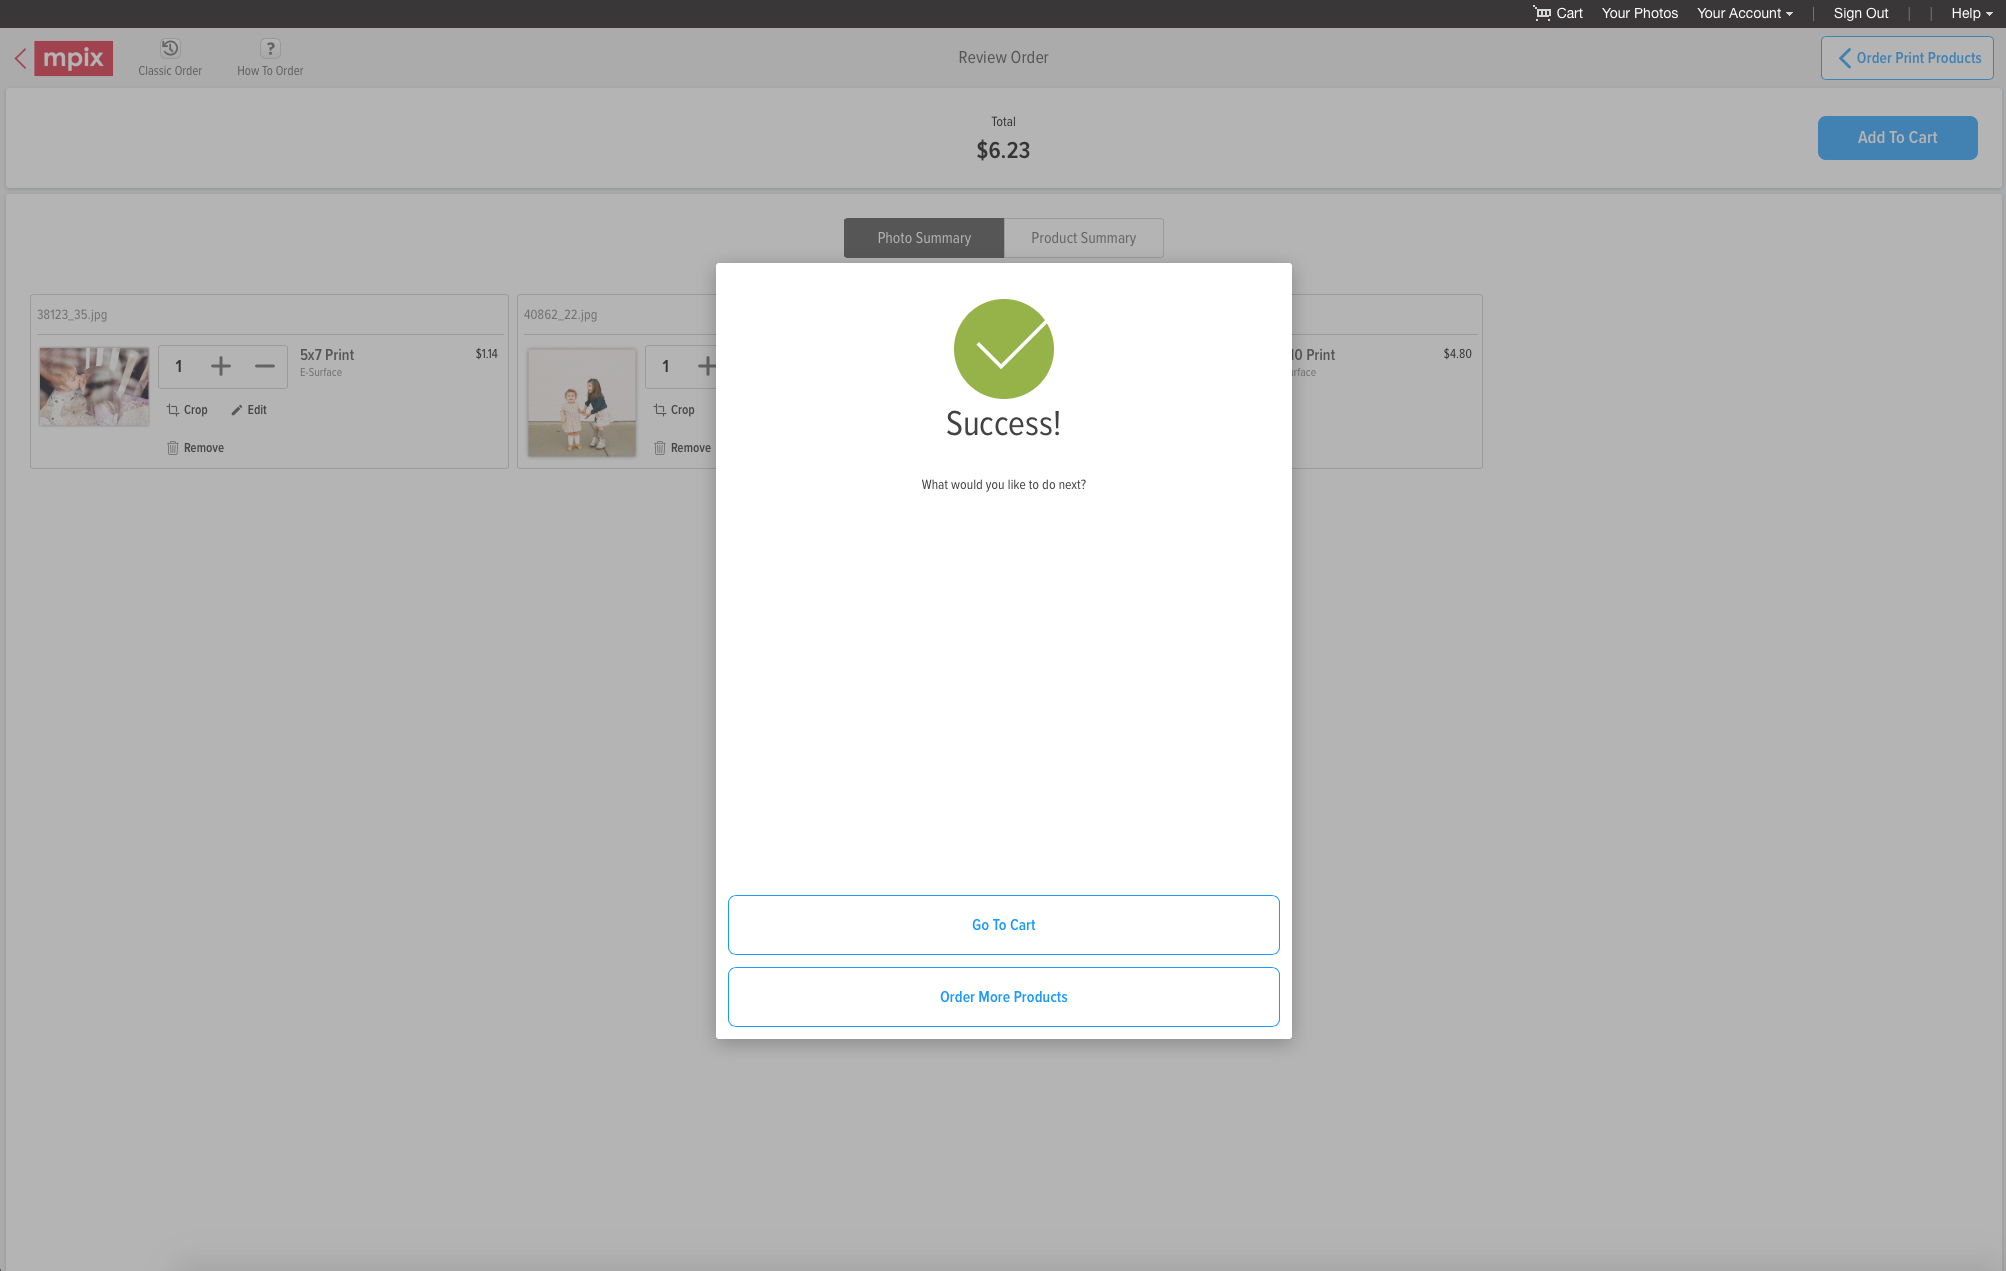
now you’ll see your images one at a time with sizing options listed on the left hand side. now all you have to do is refer to your list you made earlier and you’ll know exactly what size to order. once you’ve selected your image sizes and quantity, click review order and then add to cart.
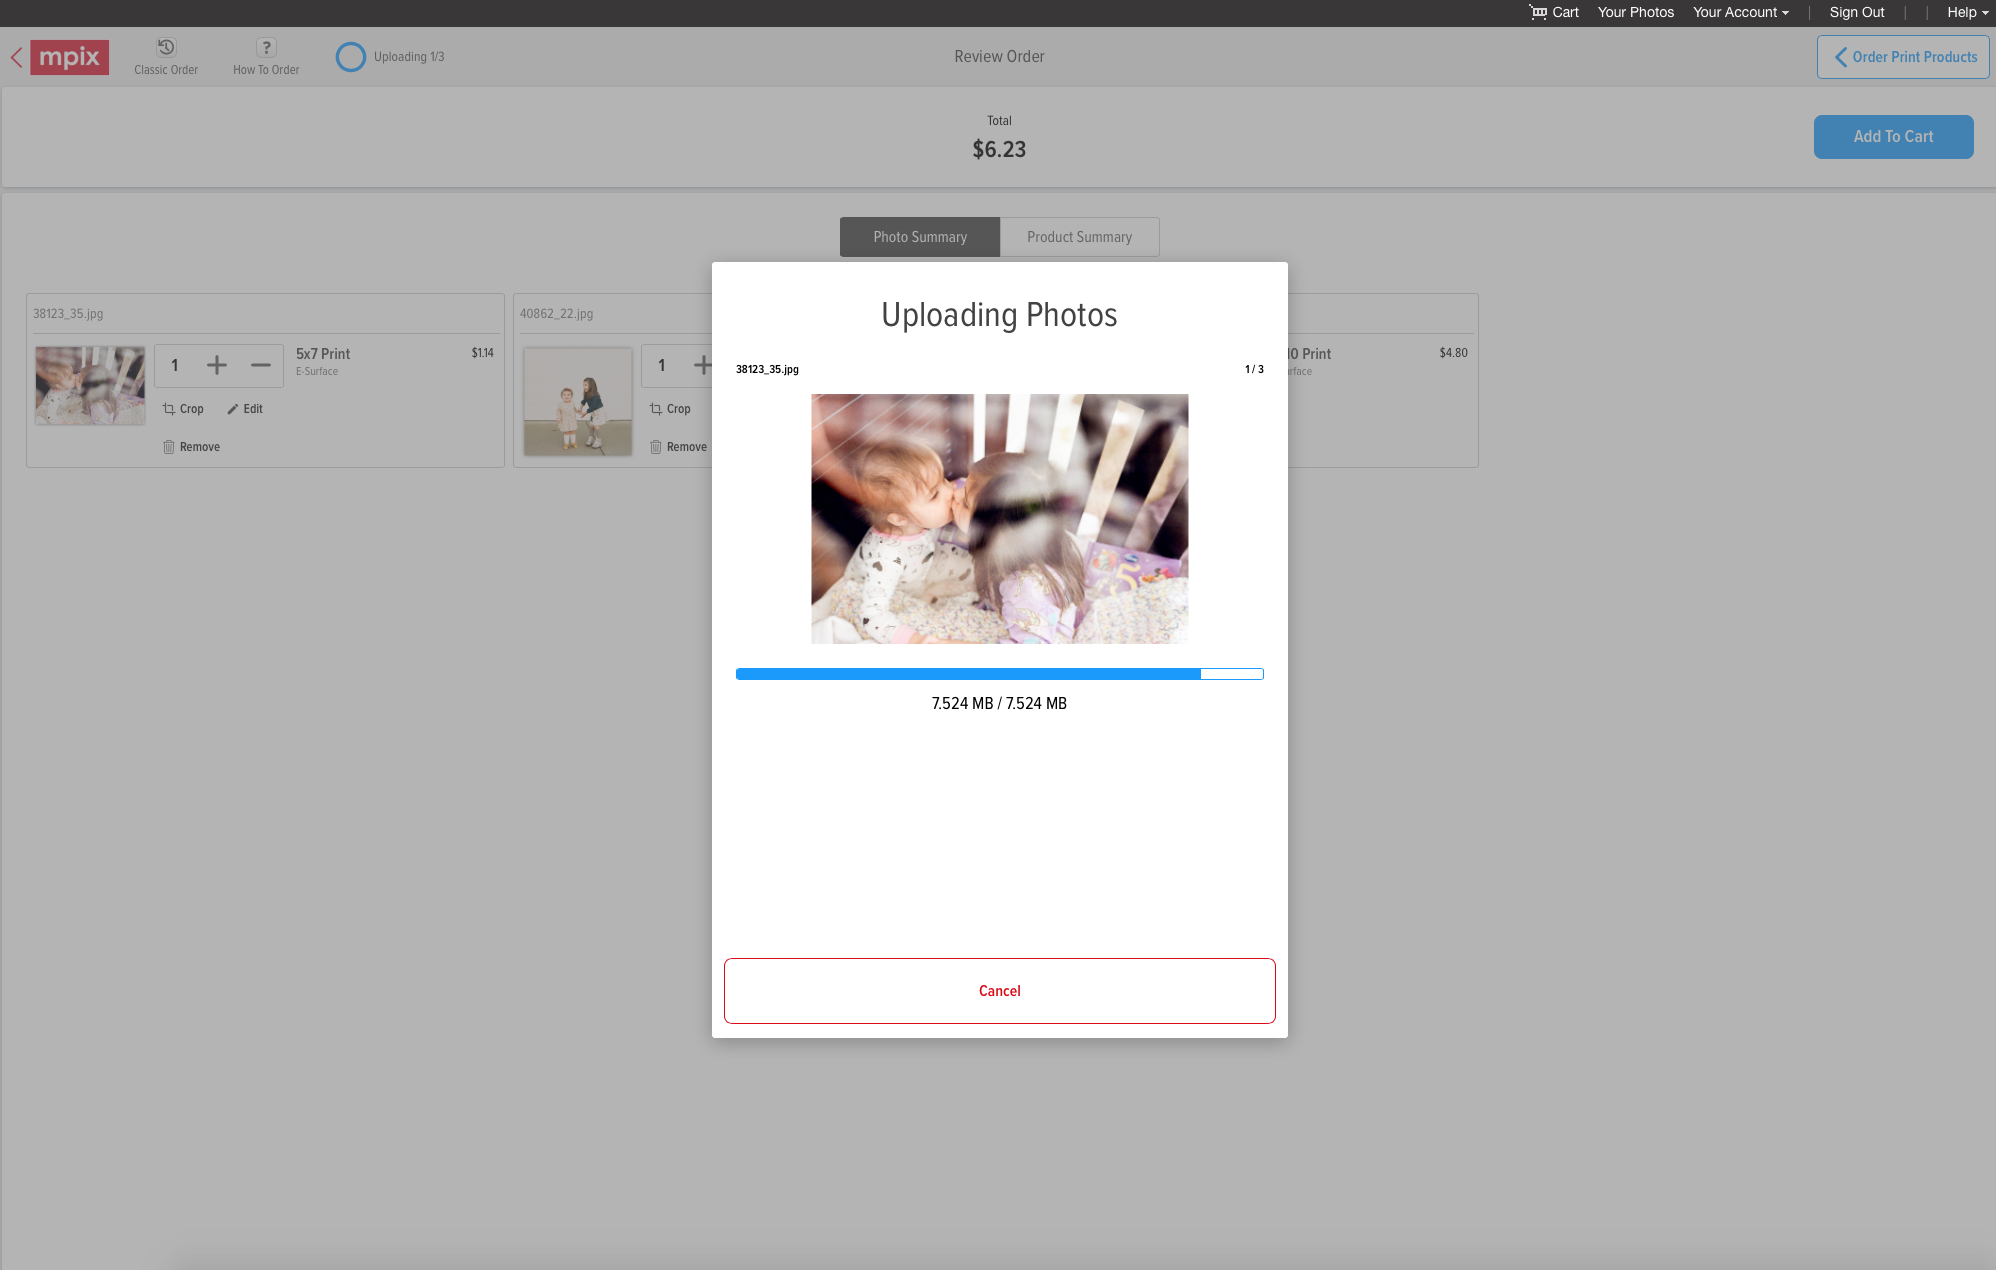
your images will begin uploading and then success! you’ll see you can either ‘go to cart’ or ‘order more products.’
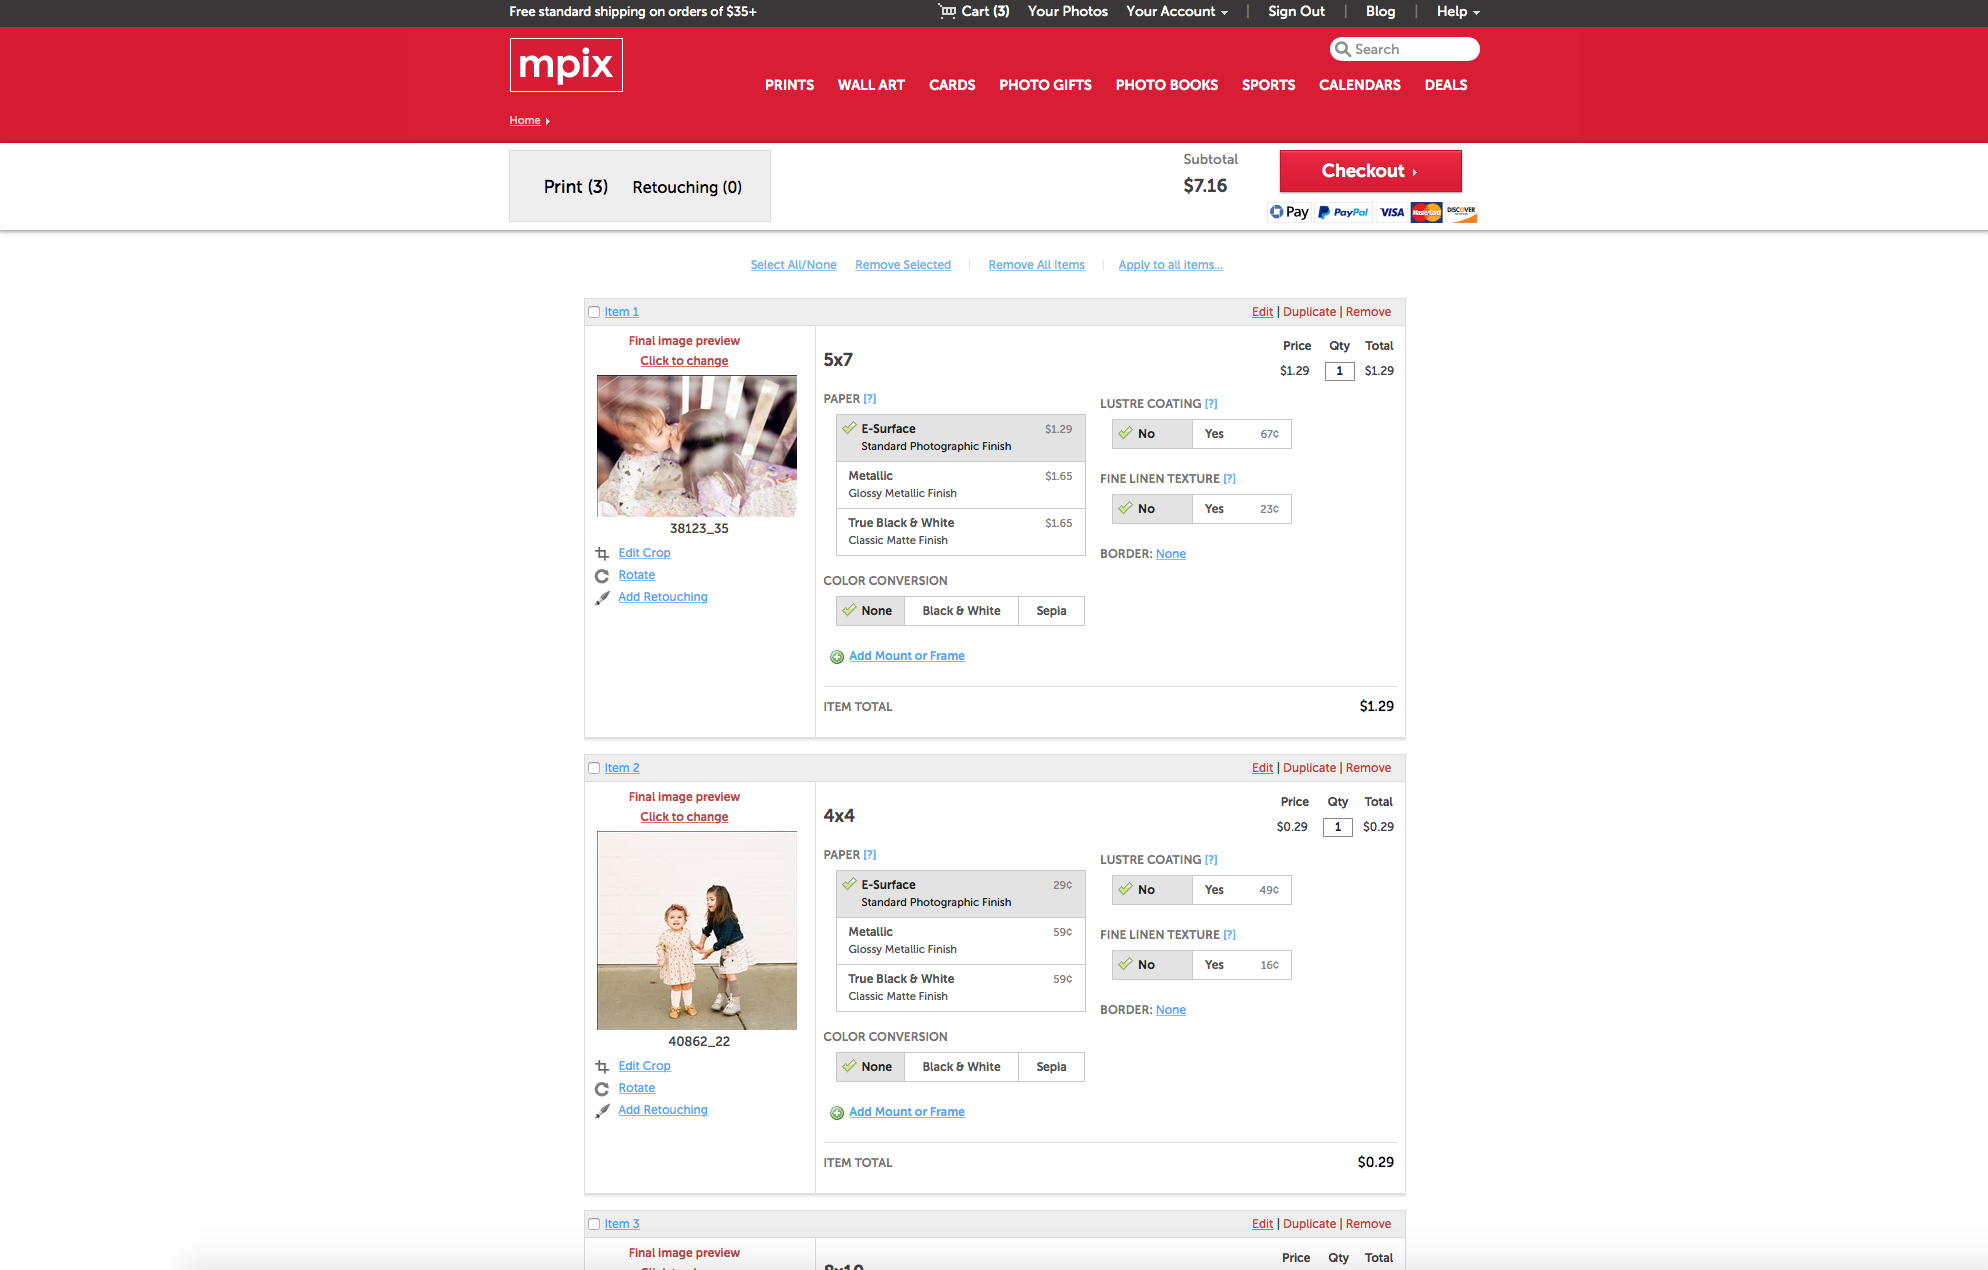
for the sake of this post, we’re going to ‘go to cart’ and wrap up our order. you’ll notice that in your cart you’ll still have several options to select all of which are at your discretion. for most of my prints, i simply keep the selected ‘e-surface’ paper. however, i am a huge fan of their pearl paper and use it for all of our party invitations + holiday cards. once you’ve confirmed that all of your images are 100% good to go, just click that gorgeous red ‘checkout’ button + enter your payment information.
and then give yourself a HUGE hug + do a little happy dance. see, that wasn’t painful at all, was it? and now in just a few short days you’ll be the proud owner of real, actual prints that you can slide into frames + enjoy every single day! i am so proud of you for taking the time to order prints! round of applause! bravo! now don’t be shy-snap a photo of your prints in their frames and tell all of your friends how much you love ’em. who knows, you might just encourage someone else to place an order too 🙂