
Find Your Best Natural Light | A Club Click Course
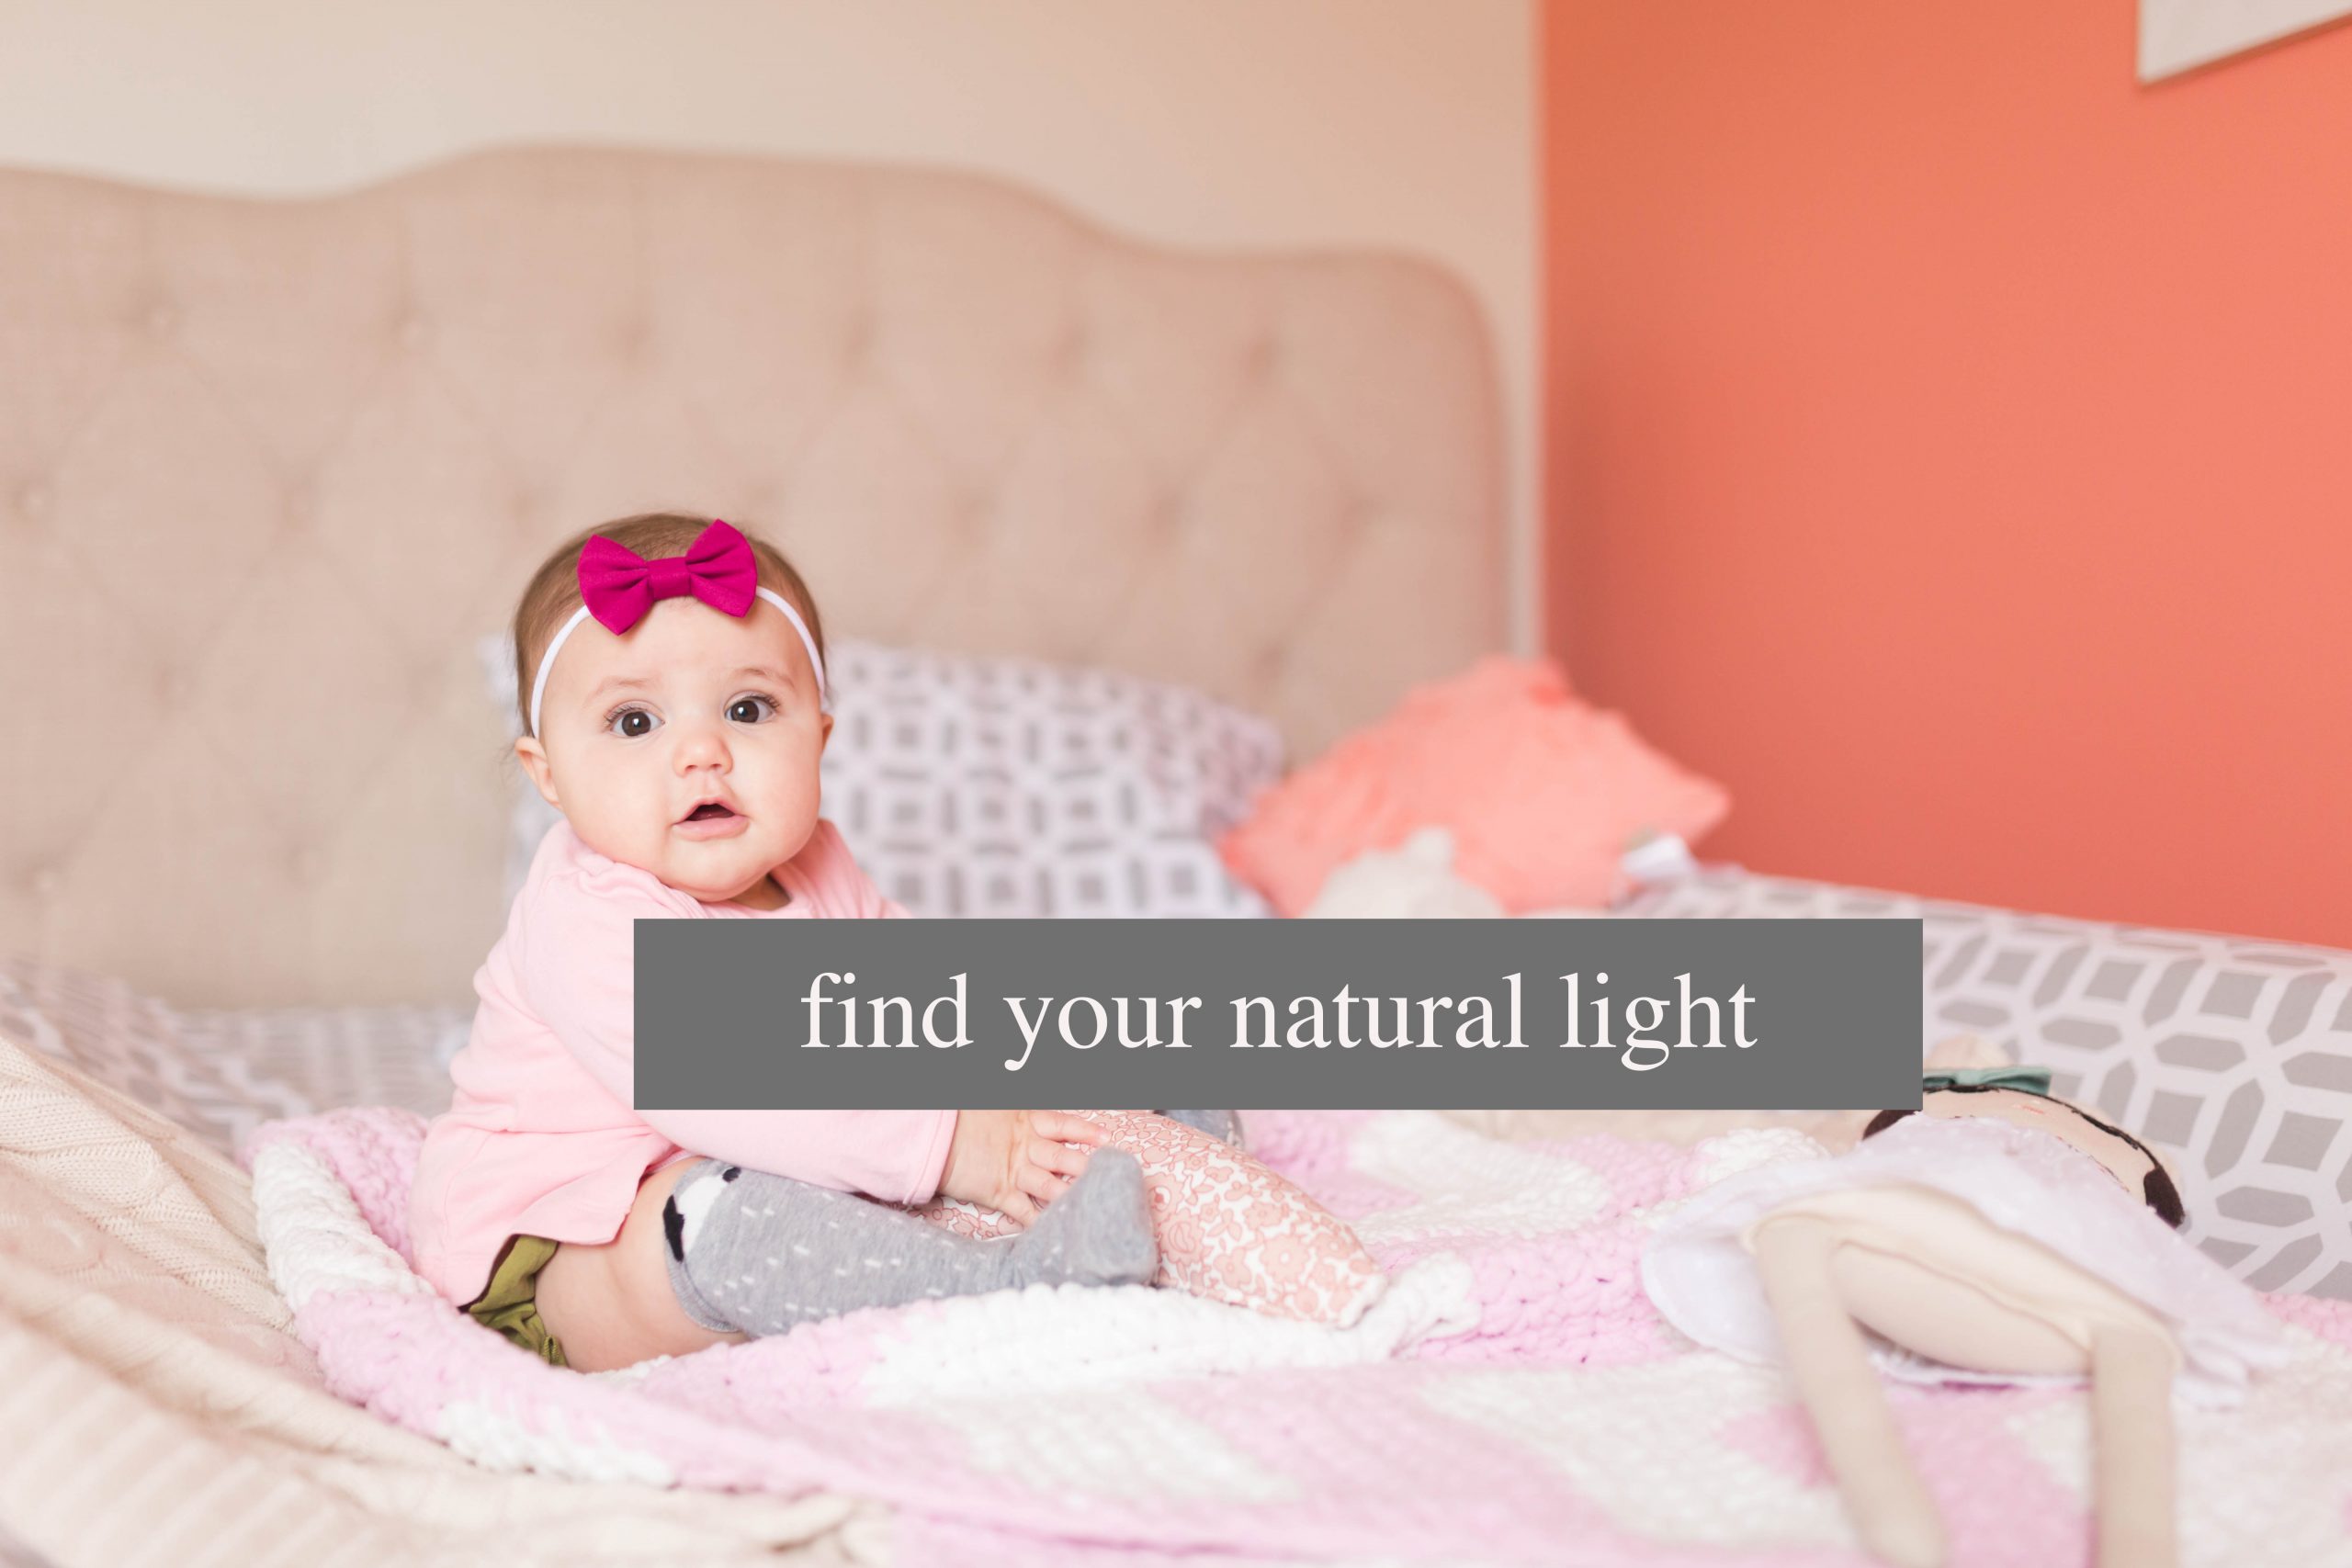
as a natural light photographer, natural light is my jam. i follow it, i know it, i love it. the best part about natural light is that your house is illuminated with beautiful light every single day. you just have to know where to look.
the first step is to find your windows and study them. for example, my house faces east. my oldest daughter’s bedroom has a window that faces east and my youngest daughter’s bedroom has a window that faces north. their rooms are best illuminated in the morning. my living room and spare bedroom have windows that face the west and are therefore best illuminated in the afternoon. remember that the sun rises in the east + sets in the west so be mindful of that as you’re studying your windows-rooms with east facing windows will likely be the brightest in the morning and rooms with west facing windows will likely be the brightest in the afternoon. as for north and south facing windows? they have the best chance of being illuminated for the longest amount of time during the day-so don’t hesitate trying to shoot both in the morning and afternoon in the rooms where the light might be the most unpredictible. once you know when your rooms are best illuminated, it’s important to know that the best light is typically found directly across from your window. there are three different ways to light your subject based on your natural window light.
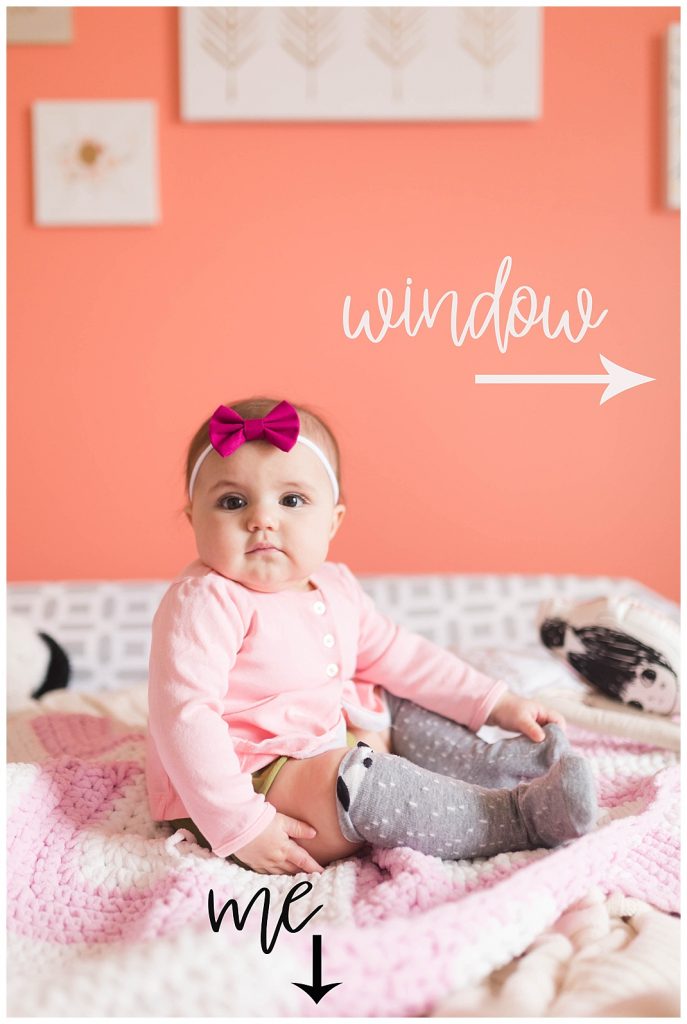
- side lit: as the name implies, a side lit photo lights one side of your subject and casts a shadow on the other side. in the photo below, the window is to the LEFT of my subject and therefore the natural light floods the left side of her body and casts a shadow on the right side. this is great for capturing a more dramatic portrait. Below is an example of a side lit portrait. you’ll see that the light is illuminating the left side of her face, but there is a shadow on her right side. this photo was taken in a room with an east facing window with my subject’s left shoulder directly across from the window. (and now that y’all are experts with these numbers i will include them with each image so that you can see exactly how the photo was achieved) -> :: 1/125 shutter speed, F1.6, ISO 500 ::
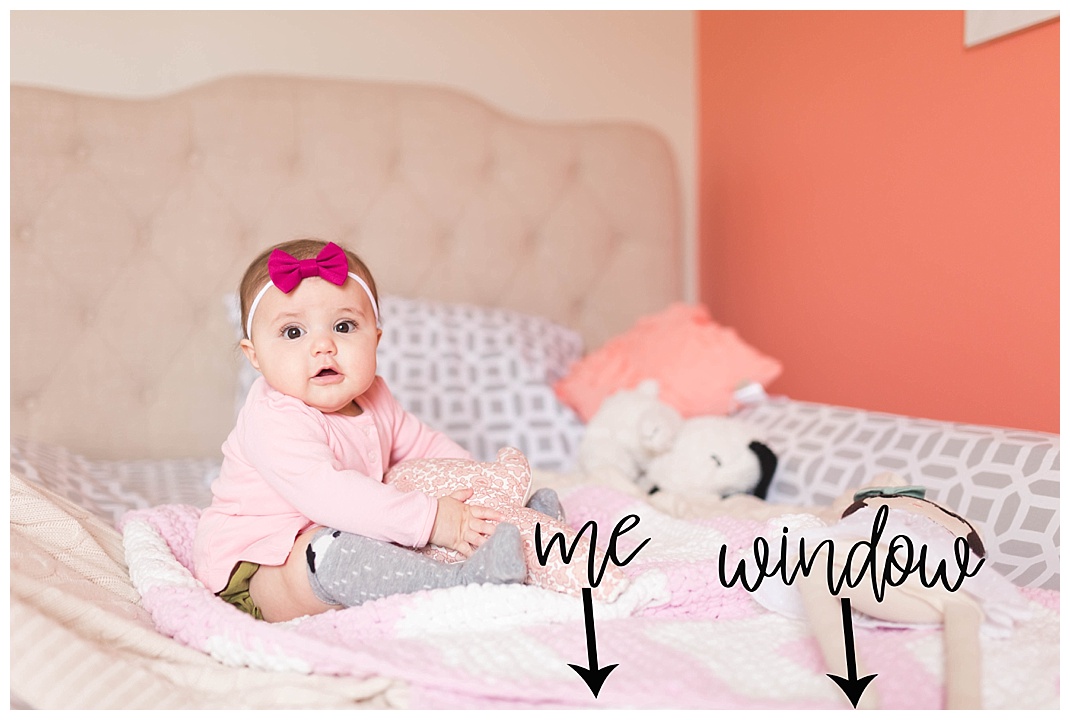
- fully lit: as the name implies, a fully lit photo lights your entire subject evenly. this is my favorite type of lighting and is achieved by facing the front of your subject directly across from your window. this should eliminate any shadows in your photo, depending on the amount of light flooding in from your window. in the photo below, i have turned my subject so that the front of her body is facing the window vs the previous photo where she had her left shoulder facing the window. you’ll notice that her whole face is illuminated. this photo was taken in a room with an east facing window with my subject facing the window. :: 1/125 shutter speed, F1.6, ISO 500 ::

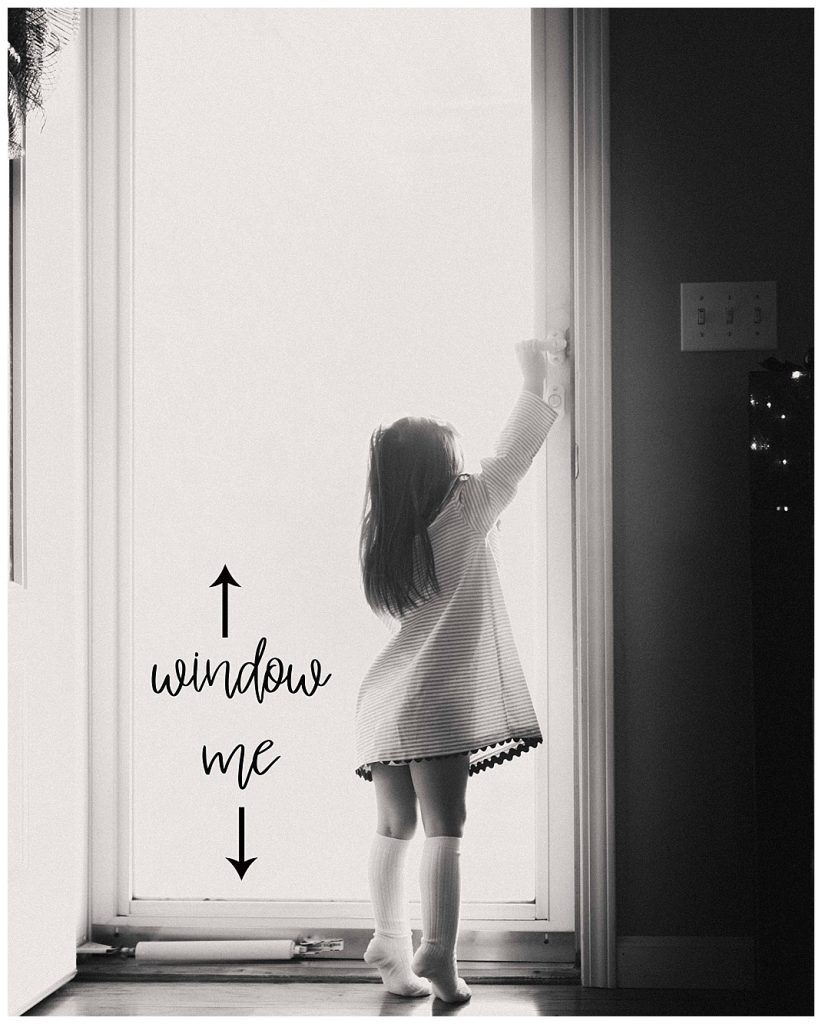
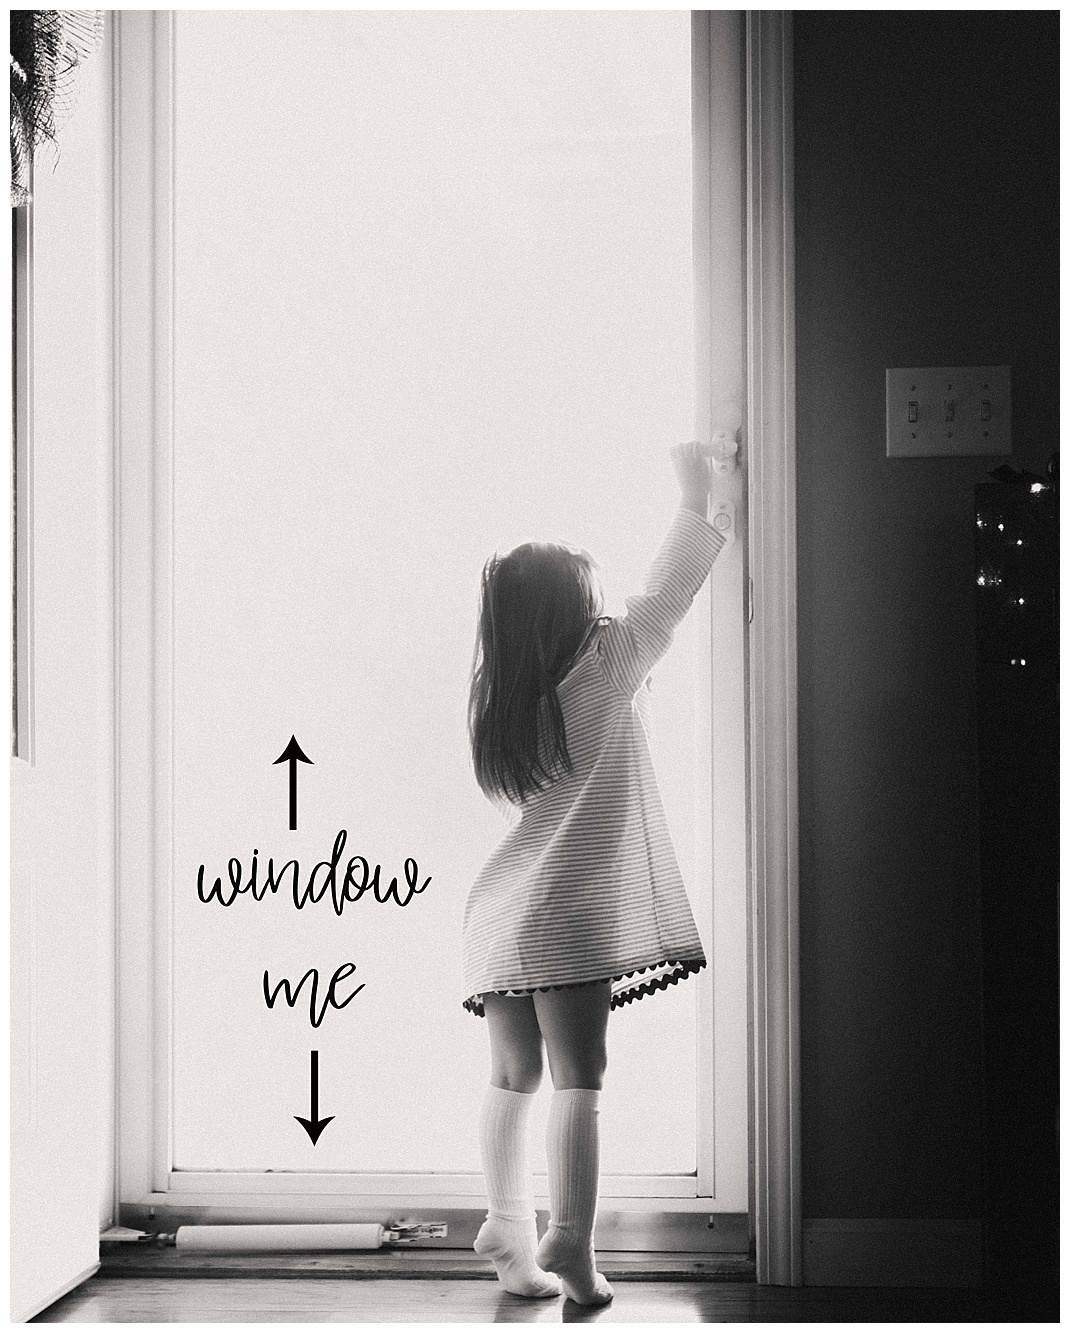
- back lit: as the name implies, a back lit photo is a photo lit from the back of your subject. these are my favorite photos to convert to black + white because of the contrast. try it for yourself and you’ll see! to achieve a back lit photo, simply place your subject directly in front of the window and face the window to shoot. you might find that you have to tinker more with your settings here because you’ll want to avoid ‘blowing out’ your subject (aka overexposing so much that you subject gets lost in the window light). this photo was taken in a room with the windows and door facing north with my subject planted directly in front of the main light source. :: 1/640 shutter speed, F1.8, ISO 1250 ::

this week i challenge you to experiment with the three different lighting techniques and find the one that stirs your soul. don’t forget to snap + post your photos to social media using the hashtag #ClubClickPic!