
What ARE All of These Numbers? | A Club Click Course
when glancing anywhere on your camera, you’re going to see numbers. some fractions, some decimal points, a few letters jumbled in as well. i admit it can look pretty overwhelming but i promise that just the most basic understanding of what all of the numbers mean will help you on your journey to taking the photos you desire. consider it like a first date-you’re excited to give it it a try but you’ve also got to go through the motions first. this week we’ll focus on three basic camera settings that nearly ALL point and shoots + DSLRs have and how they all work together to create images.
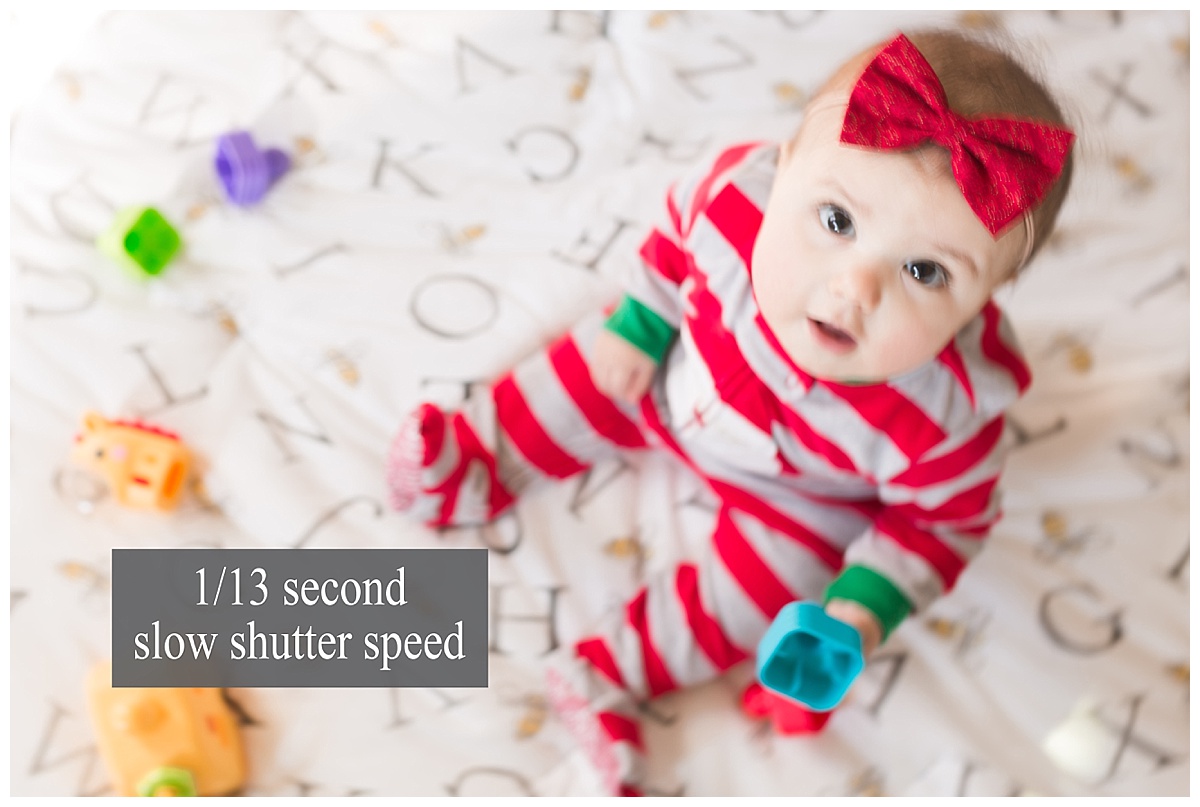
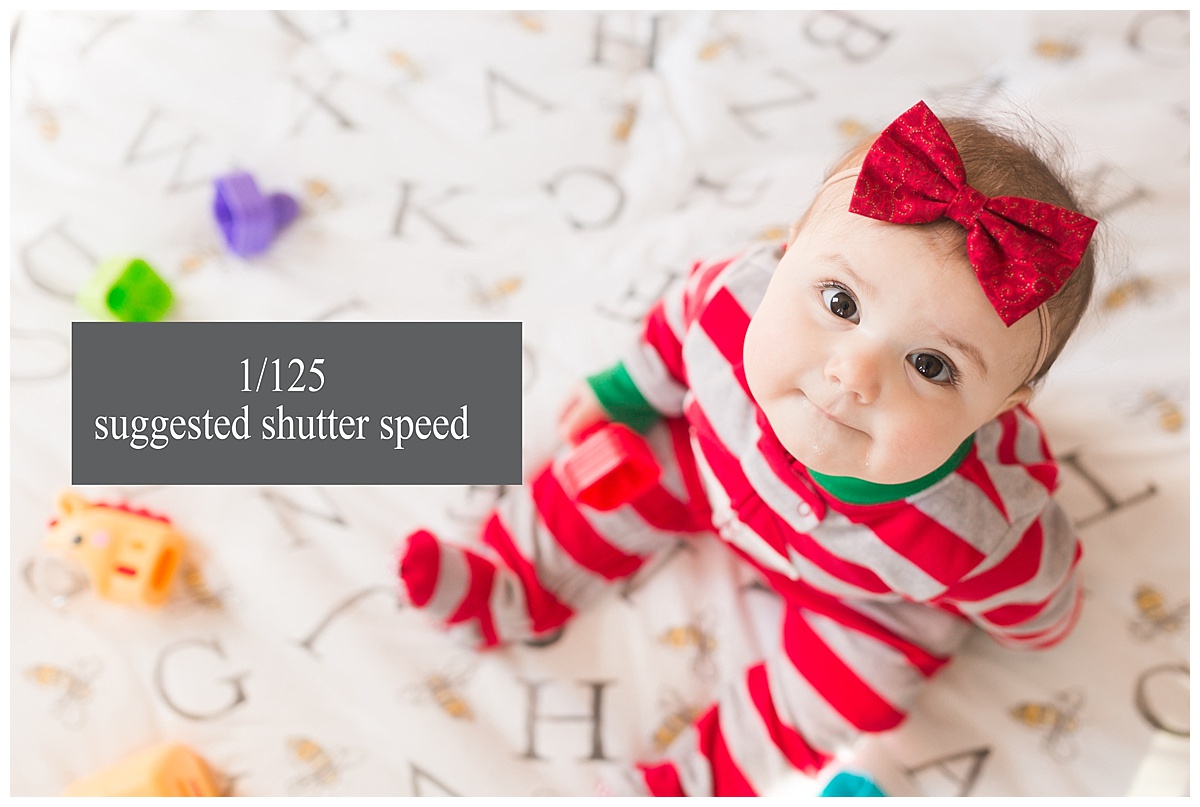
shutter speed: the shutter speed is the amount of time the shutter is open for the shot. it is typically shown in fraction form and is measured by fractions of a second (i.e. 1/125 second). the slower the shutter speed, the more ‘blurry’ the photo. the faster the shutter speed, the more action is ‘frozen.’ looking to photograph a child jumping on a trampoline? you’ll need a fast shutter speed. looking to photograph a waterfall and blur the movement? you’ll need a slow shutter speed. you get the idea. as a general rule of thumb (especially when photographing children) i begin by setting my shutter speed to 1/125-this is a great speed to catch MOST action without making it blurry
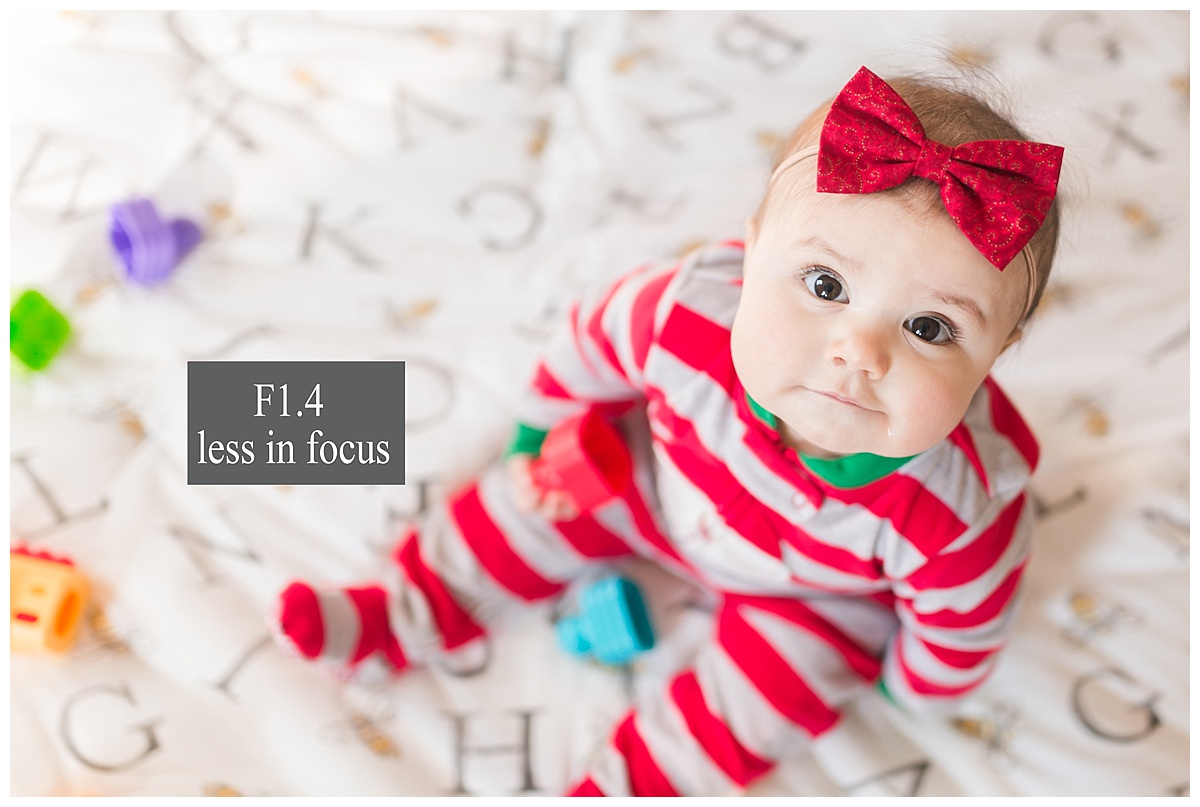
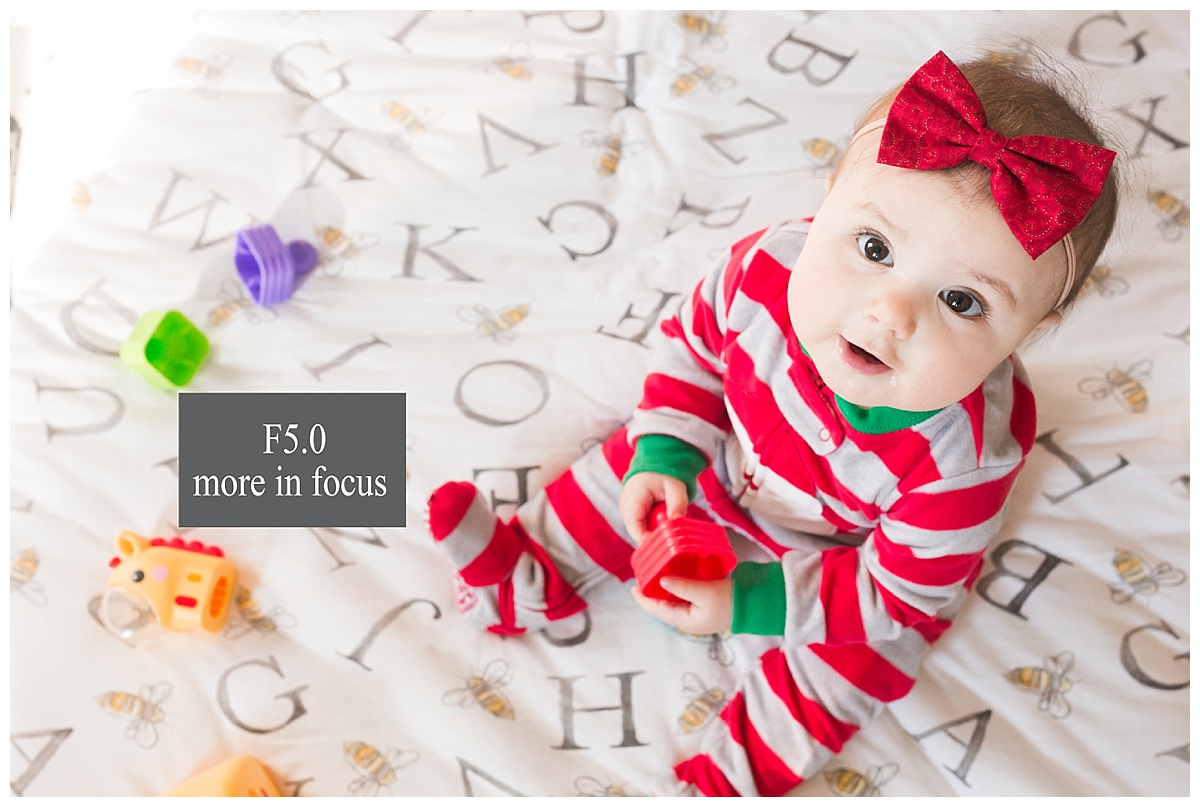
aperture: aka F-stop. the aperture refers to the hole in the lens through which light travels. each lens offers a different minimum + maximum aperture (this number is often in a decimal form-i.e.5.6-and is typically listed somewhere on the lens.) the higher the aperture (i.e. F1.4) the more light comes in. the lower the aperture (i.e. F11) the less light comes in. in indoor situations i suggest setting your aperture as high as you can to allow the most possible light in. also know that the higher your aperture, the ‘softer’ your image. for example, at F1.4, you may find that you have one eye in focus + the other eye may fall slightly out of focus whereas at F5.6, you’ll find that your subject’s whole face will likely be in focus. tip: set your aperture to the highest available to allow the most light in and achieve the softest image possible.
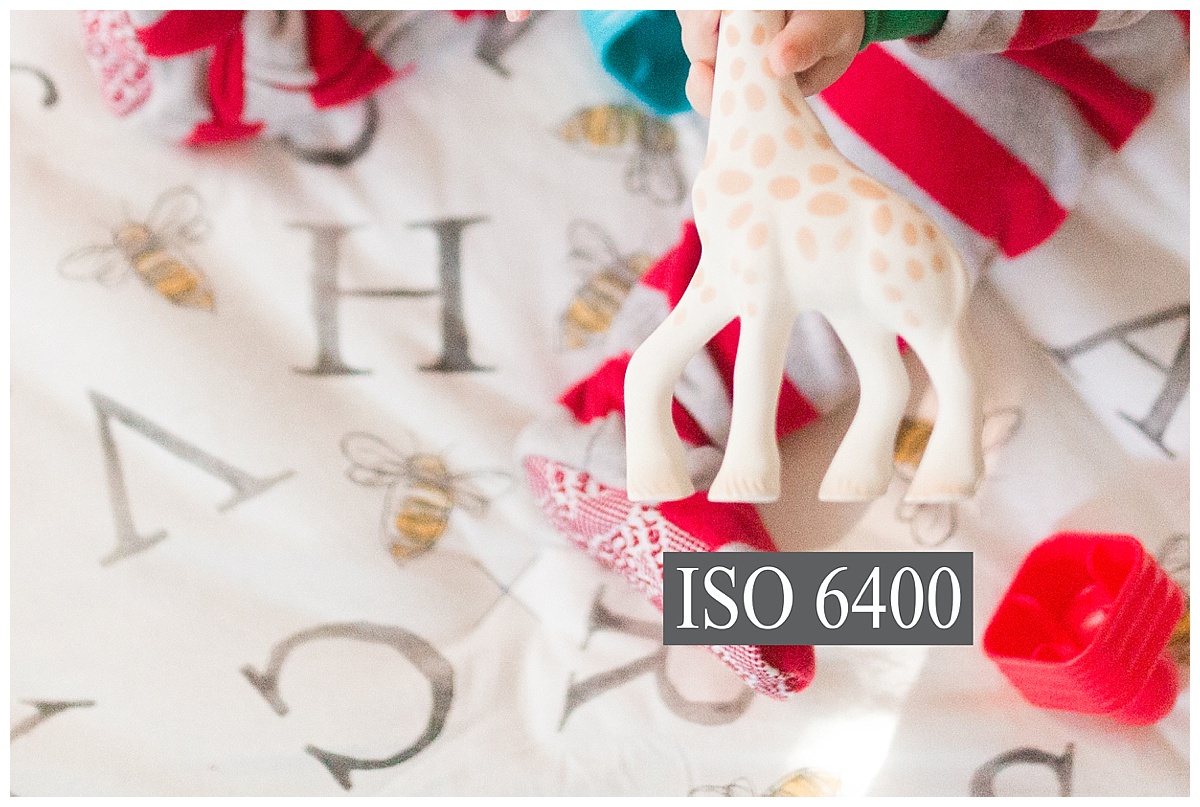
ISO: the ISO refers to your camera’s sensitivity to light. a low ISO setting (100) makes your camera less sensitive to light and therefore results in a darker image whereas a high ISO setting (6400) makes you camera more sensitive to light and therefore results in a brighter image. it is important to note, though, that each camera’s sensor responds to ISO settings differently and often the higher your ISO setting, the more ‘grainy’ or ‘noisy’ the image. tip: set this number AFTER you select you desired shutter speed and aperture!

snapping a photo is as easy as 1, 2, 3!
- set your shutter speed to 1/125. this can be adjusted after if necessary without making much change to your final image.
- set your aperture. are you photographing 1 person? a group of people? if only 1 person, set your aperture to the highest available (smallest decimal point) and move on! a group of people? match your aperture to the amount of people in the photo. 3 people? set your aperture to F3.2. 4 people? F4.0. 10 people? F10. you get the idea.
- set your ISO-the easiest way to do this is just to pick a number and take a test shot to see what it looks like. test shot too dark? bump up your ISO to find your desired exposure and vice versa if your test shot is too light.
now that you’ve got a general idea of what the numbers are for and how they work together, i want you to spend some time tinkering with your exposures until you find a combination that works for you straight out of the camera-no editing required. then pat yourself on the back and post your images to your social media using the hashtag #ClubClickPic! i can’t wait to see your images!