3 WAYS TO ELEVATE YOUR IPHONE PHOTOS TODAY
Guys-the last time I chatted about iPhoneography here on the blog was 2016! As I jumped back to reread (you can reread it too if you feel so inclined by clicking here) I was shocked by how much has changed between then and now! I share iPhone photos on my feed often and when I do, people love to ask how I take such great photos on my phone. While I have my DSLR that I reach for often, my iPhone is what I’m reaching for first when it comes to photographing my everyday. When they say smart phone…they mean it but there are still a few tips that I’d love to share with you so that you can elevate your iPhone photos TODAY!
- Activate Portrait Mode (or fake it): Portrait mode totally changed the game of iPhone photography. Now you (yes, you!) can capture a beautifully blurred background on your phone with the tap of a finger. It’s remarkable, truly, and therefore, I use portrait mode 99% of the time I launch my iPhone camera. If you don’t have portrait mode or if you’d prefer to not mess with the *sometimes* finicky focus, you can easily fake portrait mode by putting a bit of distance between your subject and their background. For instance, if you’re photographing your kids on your porch and using the bricks as the background, instead of having them stand with their backs touching the brick, have them take a step or two forward. Then, when you focus on their cute little faces the brick will naturally fall out of focus a bit. This dimension is what gives your photos that soft goodness that all love.
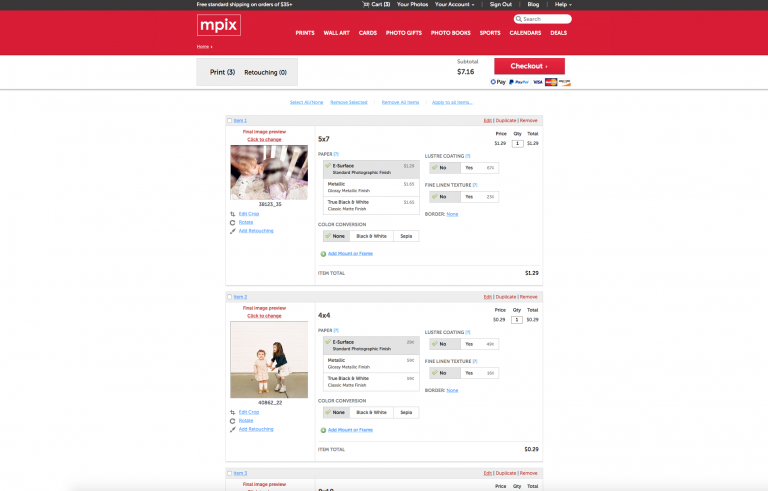
- Download Lr Mobile: If you’ve been following my business for awhile, you might remember that I curated and sold mobile presets to enhance mobile photos a few years ago. Don’t get me wrong, I LOVE a good preset but these days, I prefer to make just a few minimal edits to polish my iPhone photos up a bit. I prefer Lr mobile to other editing apps because the edits are clean, professional, and it’s SO easy to use (did I mention it’s also free?!)
- Tap for Focal Point + Exposure: The easiest way to elevate a photo is to launch your camera app and tap on the subject to make sure the focus is sharp where you want it to be and soft elsewhere. I tap my desired subject every single time to set my focus before I tap to snap the photo. I also love to play with the little sun icon that you’ll see when you tap on your focal point-the sun helps adjust your exposure. Simply drag the sun up to bring the exposure up or down to bring your exposure down. Fixing the exposure quickly before you take the photo can save you tons of time and potential headache trying to correct it in Lr later.
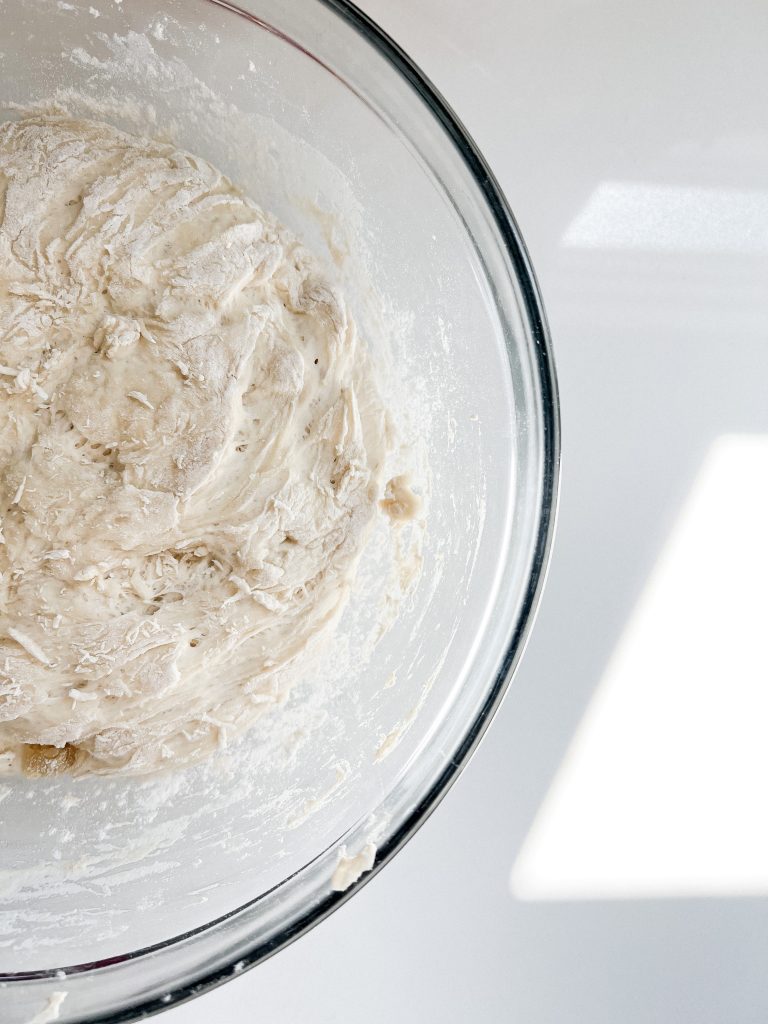
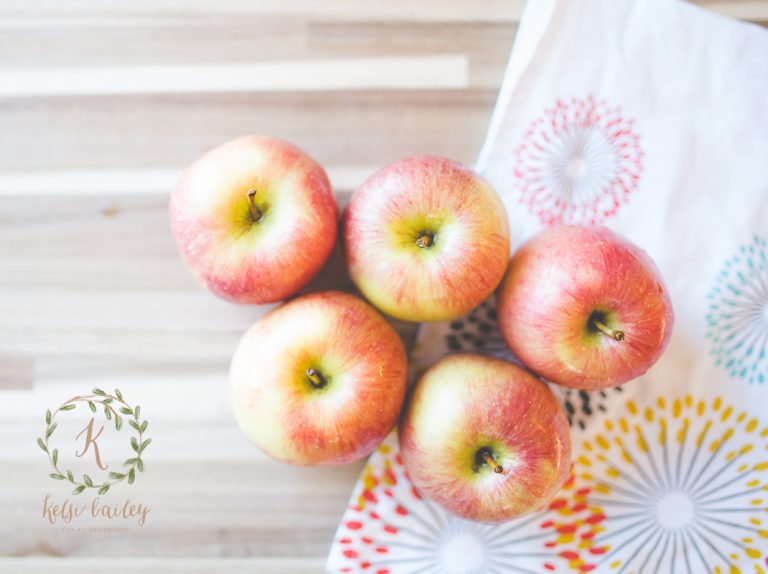
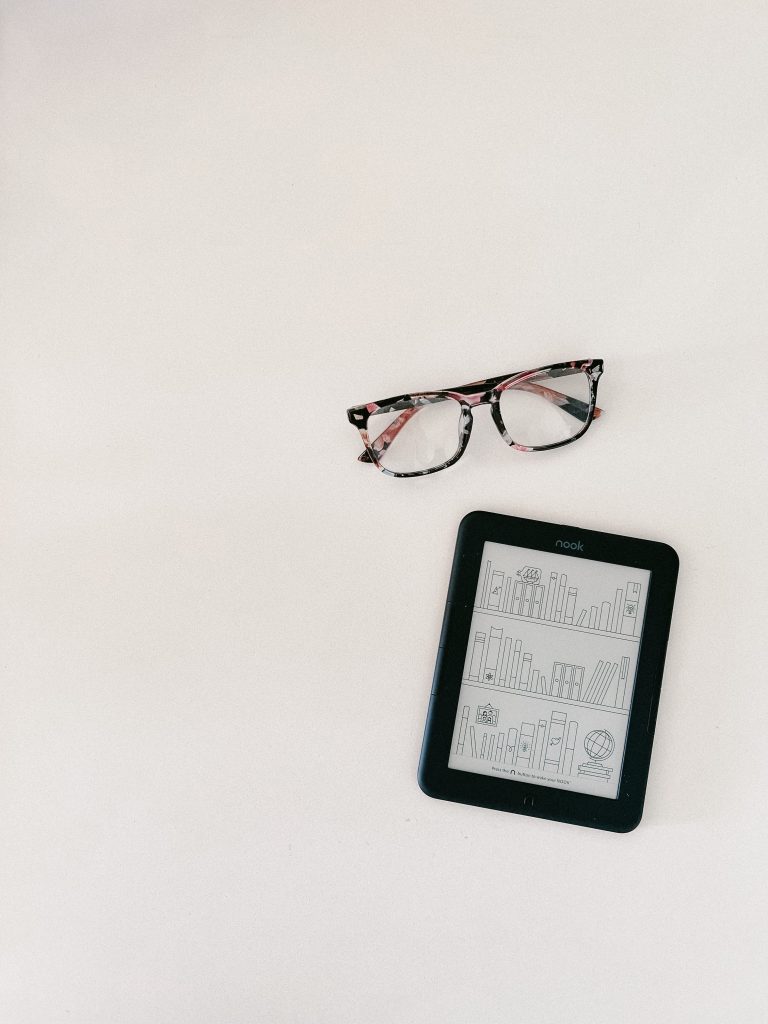
While I still absolutely encourage you to hire a professional photographer when your time and budget allow, I can’t ignore the small but mighty cameras that are within an arm’s reach while your everyday is unfolding. I hope you take these 3 tips and level up your iPhoneography game because I know your everyday life is beautiful and it’s begging to be captured. I’ve got tons of iPhone photos right here on my blog-most recently right here but also here. I’m also going to toss a handful of iPhone photos I took today in a variety of light just for fun. They might not be fancy but I sure fancy them and I’ll tell you this-taking the photo is always, always, ALWAYS better not taking it. I’d love to see what you’re capturing and sharing so please tag me in your favorite iPhone photos so I can see what you’re up to!